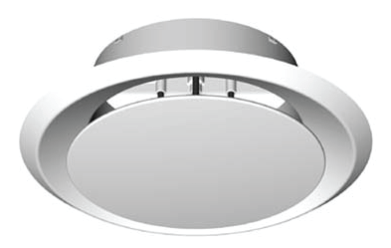
Sunline
|
 |
Features
|
- Available in 3 different sizes:
- Stylish design
- Easily adjusted diffuser opening
- Low cost
- Lightweight rigid construction
- Easy to clean
- Scratch resistant surface
- Quiet
- Snap action clips for fast and easy installation
- Tapered neck for easy duct connection
|
Optional Extras
|
- Available in motorised/remote controlled option.
|
Dimensions
|
 |
| |
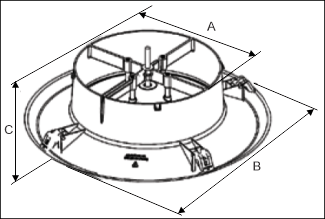
| Grille Size |
A Nominal Neck Size (mm) |
B Flange Size (mm) |
C Height (mm) |
Hole Diameter (mm) |
| 200 |
200 |
364 |
114 |
314 |
| 250 |
250 |
413 |
114 |
364 |
| 300 |
300 |
464 |
114 |
414 |
|
Construction
|
- These outlets are injection moulded from white ABS plastic and have integrated spring loaded clips.
|
Applications
|
- Ideal for residential and commercial reverse cycle air-conditioning, heating and ventilation applications.
|
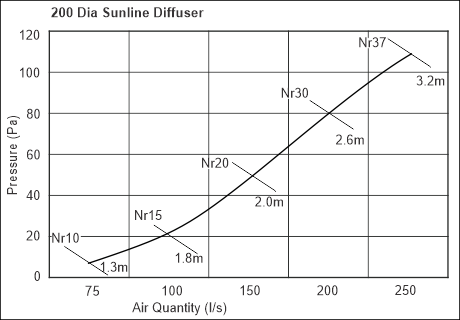
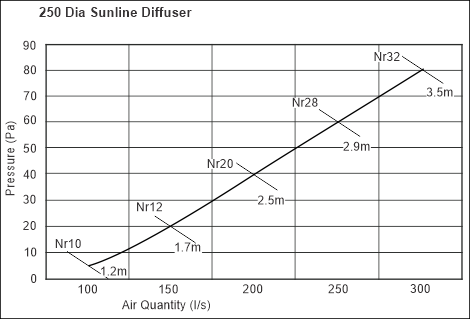
Performance
|
 |
| |
 |
| |
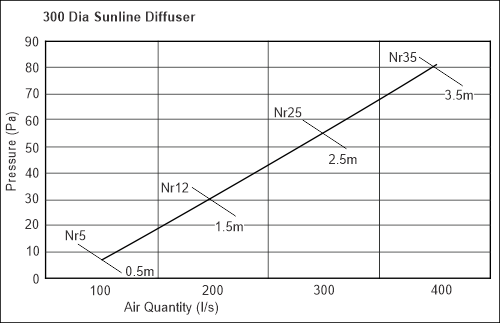 |
| |
Installation Instructions
|
1. Select the required position for the grille. Ensure there are no obstructions above the ceiling in the selected location. Using the template provided, mark hole for the grille as follows:
- 200 diameter grille: hole sizes 314mm dia
- 250 diameter grille: hole sizes 314mm dia
- 300 diameter grille: hole sizes 314mm dia
|
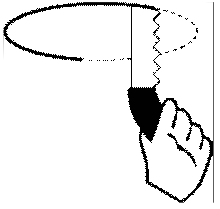
| 2. Carefully cut opening in ceiling |
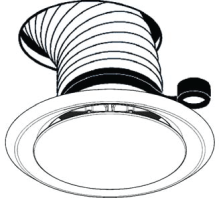
3. Pull the duct through the opening in the ceiling and attach the grille to the duct using duct tape. |
 |
 |
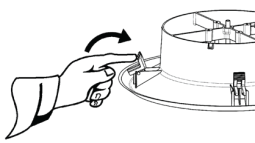
| 4. Load the clips in the upright positions. TAKE CARE you do not accidentally trigger a clip and catch you finger. |
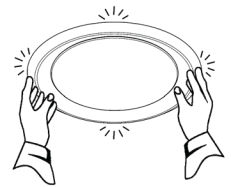
5. Carefully pass the grille up into the opening ensuring all clips are triggered down. |
 |
 |
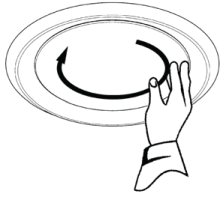
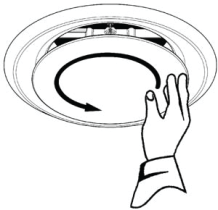
| 6. Adjust the air quantity by spinning the diffuser cone clockwise or anticlockwise - Clockwise to close |
Anticlockwise to open |
 |
 |
| 7. To clean grille wipe down with warm soapy water. |
8. Please recycle all packaging |
|
| |


